
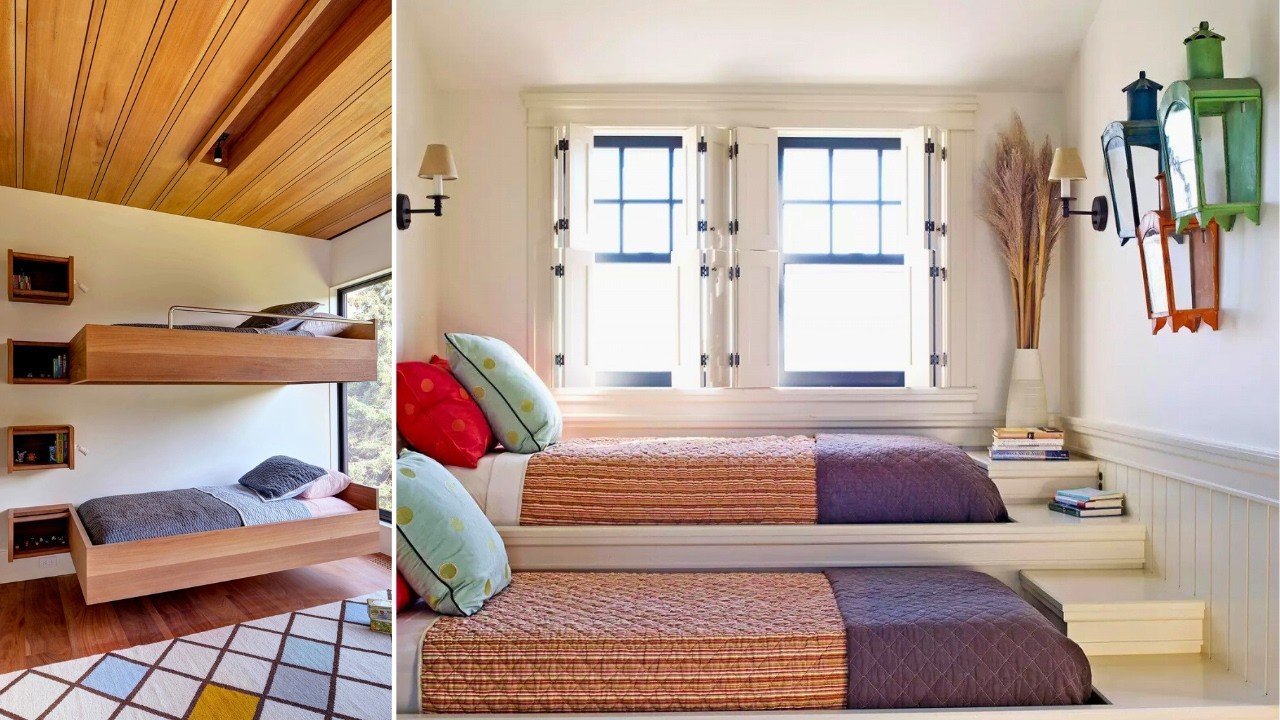
I still remember the first time I moved into a shared room. It was a 12×10 space in a busy city, split between me and another guy I’d met exactly once before signing the lease. The room was small, the rent was high, and within two weeks, I’d already made three mistakes I’m still embarrassed about.
But here’s the thing — that experience taught me more about shared room living than any guide ever could. Over the next few years, I lived in four different shared setups across two cities, and I slowly figured out the hacks that actually made a difference. Not the obvious “communicate with your roommate” advice you find everywhere. Real, practical stuff that saves you money, stress, and square footage.
So if you’re about to move into a small shared room — or you’re already in one and it’s driving you crazy — these four hacks are for you.
1. The “Invisible Wall” Space Division Method

This sounds dramatic, but hear me out. The single biggest source of tension in any small shared room isn’t the rent, the chores, or even the noise. It’s undefined space.
When my first roommate started leaving his stuff on “my side” without realizing it, things got uncomfortable fast. Not because he was a bad person — he genuinely didn’t know where his space ended and mine began. We’d never defined it.
Here’s what I started doing in every shared room after that:
Step 1: Divide the room on paper first. Before you move a single piece of furniture, sketch out the room dimensions and split it clearly. Apps like MagicPlan or even just Google Slides work well for this. Agree on who gets which side — window, outlet, closet access — before emotions are involved.
Step 2: Use furniture as natural dividers. You don’t need a physical wall. A tall bookshelf placed at the foot of both beds, or a storage unit positioned between two desks, creates a psychological “zone.” IKEA’s KALLAX shelf units are perfect for this — they’re affordable, double as storage, and visually separate two spaces without blocking light.
Step 3: Mark storage clearly. Label your shelf rows or drawer sections. Sounds petty? It’s not. When everything is labeled, there’s no ambiguity. I used simple masking tape and a marker. Took five minutes, saved months of passive aggression.
The invisible wall method works because it removes the guesswork. Nobody has to say “that’s my side” — the room itself communicates it.
Mistake I made: I once skipped this step because my roommate and I got along great initially. By month two, his gym bags and chargers had quietly colonized 30% of my space. Great guy, but we still had an awkward conversation. Define the space early.
2. The “Split Smart” Rent Negotiation Trick
Most people split shared room rent 50/50 without thinking. But here’s what nobody tells you — not all sides of a shared room are equal, and you can actually negotiate based on that.
When I was in my third shared room setup, I had the side closer to the door (higher foot traffic, less privacy, more noise from hallway) while my roommate had the window side with natural light and the only accessible power strip. We were paying the same amount. That wasn’t fair — and once I knew how to frame it, I was able to renegotiate.
Here’s how to think about it:
| Room Feature | Value to Renter | Fair Rent Adjustment |
|---|---|---|
| Window side / natural light | High | +5–10% |
| Closer to door | Low | −5–8% |
| Larger closet access | Medium | +3–5% |
| Near AC/Heater unit | High | +5% |
| Near bathroom | High or Low (depends) | ±5% |
| More electrical outlets | Medium | +2–4% |
This isn’t about being difficult — it’s about being fair. When you frame the conversation around features rather than feelings, it lands better. “You’ve got the window side and the closet — I think a small adjustment makes sense” is a lot easier than “I feel like I’m getting less.”
For resources on doing this confidently, check out these 6 essential rent by room rules before you sign anything — it covers exactly what to look out for before committing.
Pro tip: If you’re the one looking at the room first, always choose your side before the other person moves in. First-mover advantage is real.
3. The Micro-Storage System That Doubles Your Usable Space

Small shared rooms have one universal enemy: horizontal clutter. When two people’s stuff competes for the same floor and desk space, the room feels like it’s shrinking by the day.
The solution isn’t minimalism (I tried that, it lasted three weeks). It’s vertical storage architecture — a fancy way of saying: go up, not out.
Here’s the exact system I used in a 10×10 shared room that honestly transformed the space:
Level 1 — Under the Bed (The Hidden Floor) Get bed risers (about $15–20 on Amazon) and raise your bed 6–8 inches. Suddenly you’ve got an entire storage zone. I used flat plastic bins from Daiso — one for shoes, one for extra bedding, one for stuff I didn’t need daily. Out of sight, out of the way.
Level 2 — Wall-Mounted Everything Command hooks and strips are your best friends. I mounted a small floating shelf above my desk for my laptop charger, headphones, and a small plant. Headphone hook on the side of the desk. Key hook near the door. None of it touched the desk surface.
Level 3 — Door Organizers The back of your door is wasted space in 90% of shared rooms. An over-door organizer (the kind with pockets) can hold everything from stationery to snacks to cables. I kept mine for toiletries so I wasn’t sharing bathroom counter space either.
Level 4 — Shared Zones (The Negotiated Middle) If you and your roommate are on good terms, designate one shared zone — maybe a small table or corner — for things you both use (router, shared charger, maybe a kettle). Keeping shared stuff centralized prevents it from creeping onto either person’s side.
Here’s a quick comparison of storage approaches I tested:
| Storage Method | Cost | Space Saved | Ease of Setup |
|---|---|---|---|
| Bed risers + flat bins | ~$30 | High | Easy |
| Wall-mounted floating shelves | ~$15–40 | Medium | Medium |
| Over-door organizer | ~$10–20 | Medium | Very Easy |
| Cube shelves (KALLAX) | ~$60–80 | Very High | Medium |
| Vacuum storage bags | ~$15 | High (seasonal items) | Easy |
I’d start with the bed risers and over-door organizer — cheapest investment, biggest immediate payoff.
For more on making room rental situations actually affordable and livable, these rent-by-room tips for tight budgets are worth bookmarking.
4. The Roommate Routine Sync (And Why It Matters More Than Compatibility)
Everyone talks about finding a “compatible” roommate. But compatibility is vague. What actually determines whether two people can share a small room peacefully is routine overlap — how much your daily schedules collide.
I’ve lived with people I had nothing in common with who were phenomenal roommates, and people who shared all my interests who drove me absolutely crazy. The difference? Routine sync.
Here’s what I mean:
If you wake up at 6am and your roommate goes to sleep at 2am, you’ll barely cross paths. Low friction. But if you both work from home, both have calls in the morning, and both like winding down with the lights on — that’s constant conflict in a small shared space.
How to actually sync routines (without being weird about it):
Step 1: Create a loose weekly schedule together. This doesn’t need to be formal. Even a shared Google Calendar or a whiteboard with rough time blocks — “I usually work from 9–5,” “I hit the gym at 7am,” “I’m a night owl on weekends” — gives both people enough visibility to avoid collisions.
Step 2: Establish “quiet hours” and “open hours.” In every room I’ve been happy in, we had an unspoken (or spoken) agreement about quiet hours. Usually 11pm–8am. During those windows: no calls on speaker, headphones for everything, dimmer lighting. Outside those windows: fair game.
Step 3: Stagger peak-use times. If you both need the desk in the morning, talk about it. Maybe one person does 8–10am, the other does 10–12pm. Same with bathroom time. Five minutes of scheduling prevents 30 minutes of frustration.
Step 4: Use a shared notes app for low-friction communication. This one sounds trivial but it genuinely helped. Me and one of my roommates used a shared Apple Notes page (you can do the same with Google Keep) just for the room — things like “I’ll be in early tonight, can you keep it quiet?” or “Used the last of the dish soap.” Keeps things from becoming face-to-face awkward conversations.
The mistake everyone makes: Assuming you’ll “just figure it out naturally.” You won’t. Or you will — after a month of tension that could’ve been avoided with one 15-minute conversation.
The routine sync isn’t about controlling each other. It’s about creating enough predictability in a small shared space that neither person feels like they’re walking on eggshells.
For more on navigating the social dynamics of shared living without losing your mind, these essential tips for safe shared living are surprisingly useful even beyond just safety.
Common Mistakes People Make in Small Shared Rooms
Since I’ve made most of these myself, let me save you some time:
- Buying too much furniture upfront. You don’t know the room until you’ve lived in it for two weeks. Start minimal, then add.
- Never talking about money after the lease is signed. Utility splits, shared groceries, toilet paper — these need a system, not assumptions.
- Ignoring the lease terms around guests. In shared rooms, one person’s “guest” becomes both people’s problem. Know the rules.
- Skipping the walkthrough documentation. Before you move in, photograph every scuff, stain, and damage. Your deposit depends on it.
- Assuming the other person is fine. Check in occasionally. A 5-minute “hey, anything bothering you about the setup?” prevents a month of silent resentment.
A Few Numbers Worth Knowing
| Scenario | Monthly Savings vs. Solo Renting |
|---|---|
| Sharing a room in a major city | $400–$900 |
| Splitting utilities 50/50 | $50–$150 |
| Sharing grocery basics | $30–$80 |
| Using vertical storage (less stuff needed) | $20–$50 in avoided purchases |
| Total potential savings | $500–$1,180/month |
These aren’t made-up numbers — they’re roughly what I tracked in a notebook during my second year of shared room living. The rent savings are obvious. The little stuff adds up quietly.
Small shared rooms aren’t a compromise — they’re a skill. Once you figure out the space, the money split, the storage, and the routine, it honestly becomes one of the more comfortable and affordable ways to live in a city. It just takes a bit of intentional setup at the start.
The hacks above aren’t complicated. They’re just the things I wish someone had told me before I signed my first shared room lease and spent month one figuring it out the hard way.
Also worth reading: If you’re still in the process of finding a room and want to move fast without making costly mistakes, check out these 4 hacks to find available rooms in 24 hours — it’s practical, no-fluff advice that actually works.